Background
Skip to the notes on compiling Emacs
Since my last post, I’ve abandoned spacemacs in favor of building my own Emacs environment. I’ve done this so that I can better learn how Emacs works and to, hopefully, become passably proficient with emacs lisp.
Spacemacs is a wonderful and robust package that served to whet my appetite for discovering what Emacs is all about. Unfortunately, it was too much for me to grok on top of learning Emacs. For instance, I never understood what a leader key is and why I would use that instead of M-x or SPC.
I was dealing with this frustration for nearly a year while trying to learn two complex pieces of software at once, until I found “Play Emacs like and instrument”. This video inspired me to dedicate the time and effort to learn how to make the Emacs experience my own. After all, the ability to completely customize and hack on Emacs is what separates it from other software.
But what about all of the functionality offered by Spacemacs? Happily, this blog post at Bacterial Finches details how to capture the essence of Spacemacs and reproduce it in a way that is my own. I used this as a springboard to learn more about the Emacs package ecosystem, and happily I discovered that all of my favorite functionalityin Spacemacs is tied to discrete Emacs packages.
Configuring Emacs is another blog post for another day - I’ve already rambled too much at this point. If you’re interested, take a look at my emacs configuration.
Compiling Emacs
When I started this process, I was on macOS 10.14.6 with the xcode command line tools installed, but xcode itself was not installed. It is for this reason that the official install manual doesn’t work.
From this initial state, I ultimately had to do the following to compile Emacs on macOS:
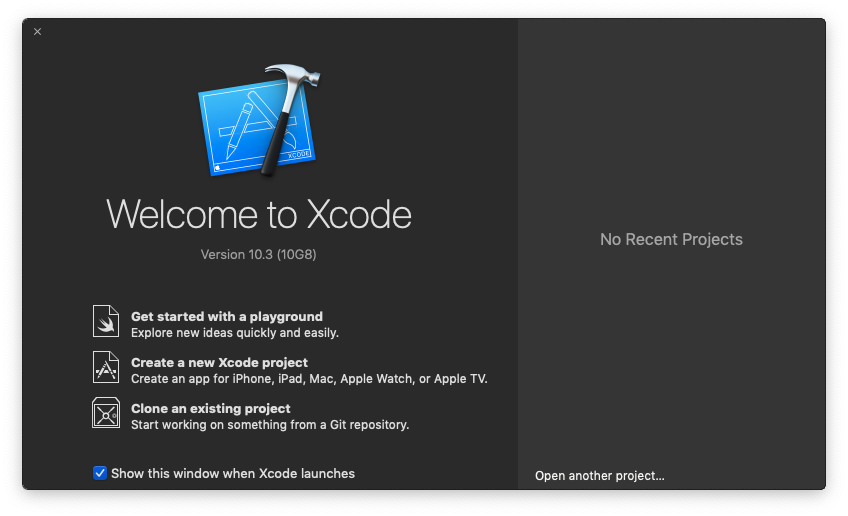
Step 1 - Install XCode
I installed XCode from the App Store and then opened it so that it could finish installation. This step was considered done once I was at this screen:
Step 2 - Remove and reinstall XCode command line tools
Because I was unable to locate
/Library/Developer/CommandLineTools/Packages/macOS_SDK_headers_for_macOS_10.14.pkg
as identified in the many google results for this issue, I had to
uninstall and reinstall the XCode command line tools after I installed
XCode:
sudo rm -rf /Library/Developer/CommandLineTools
xcode-select --install
At this point, the macOS SDK headers installer package was placed at
/Library/Developer/CommandLineTools/Packages/macOS_SDK_headers_for_macOS_10.14.pkg
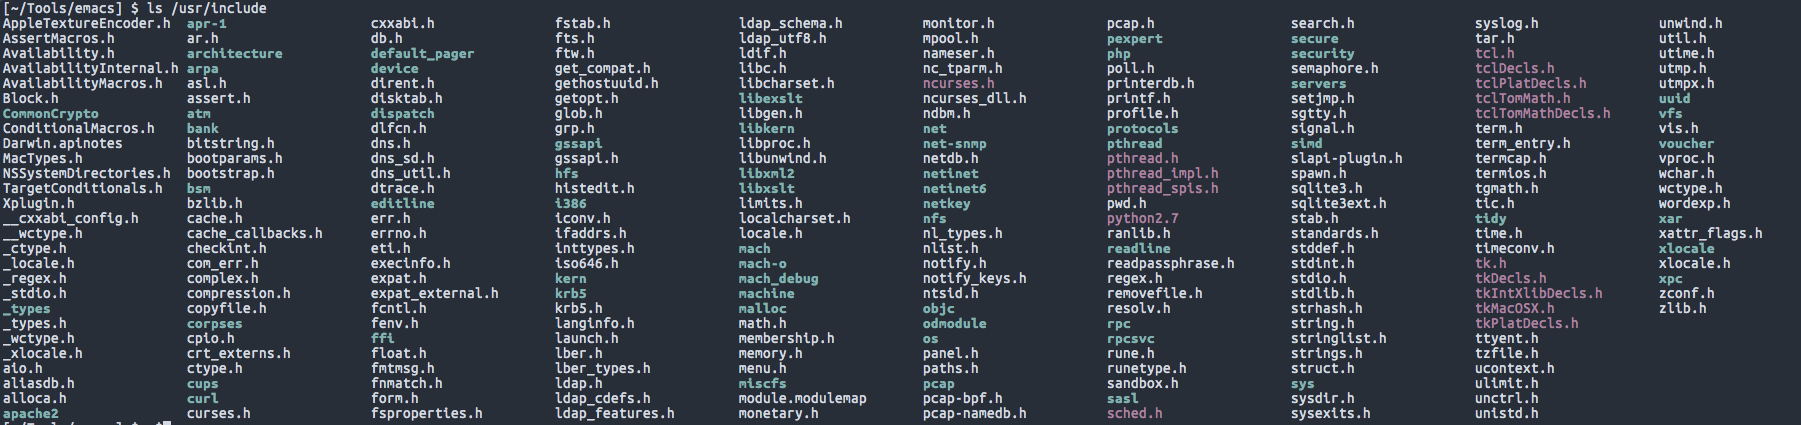
Step 3 - Install macOS SDK headers
open /Library/Developer/CommandLineTools/Packages/macOS_SDK_headers_for_macOS_10.14.pkg
Follow the installation to completion and you should now see the
appropriate headers in /usr/include
Step 4 - Install libxml2 and set environment variables (?)
In the haze of fixing this problem last night, this was a step I performed, but I don’t think it was ultimately required to compile Emacs correctly.
Install libxml2 using brew:
brew install libxml2
Set environment variables:
export PKG_CONFIG_PATH="/usr/local/opt/libxml2/lib/pkgconfig"
Step 5 - Set CPATH (?)
This is another step that I don’t think was ultimately required, but I performed it none-the-less. Including here for reference.
export CPATH="/Applications/Xcode.app/Contents/Developer/Platforms/MacOSX.platform/Developer/SDKs/MacOSX10.14.sdk/usr/include"
Step 6 - Clone the emacs repo
Easiest step in the whole process:
git clone https://github.com/emacs-mirror/emacs.git
Step 7 - Run autogen, configure, and make
With all of the prerequisites in place, it’s time to configure and make Emacs!
cd emacs
./autogen.sh
./configure (note that --with-ns is implied when run from macOS)
make
Test that Emacs is functioning at this point by running
src/emacs. If all looks good, run
make install
and then look in nextstep/ for nextstep/Emacs.app. This can be
moved to /Applications, /<User>/Applications, or wherever else you
store binaries!
References
These were all invaluable references to solve this issue: